
If you have multiple Records Managers, Filters allow you to control what records each Records Manager can view or approve. By default, Records Managers see all record classes. By using Filters on a record class, you can restrict (or filter) the ability to view records in the record class to a specific user(s).
Manage Filters
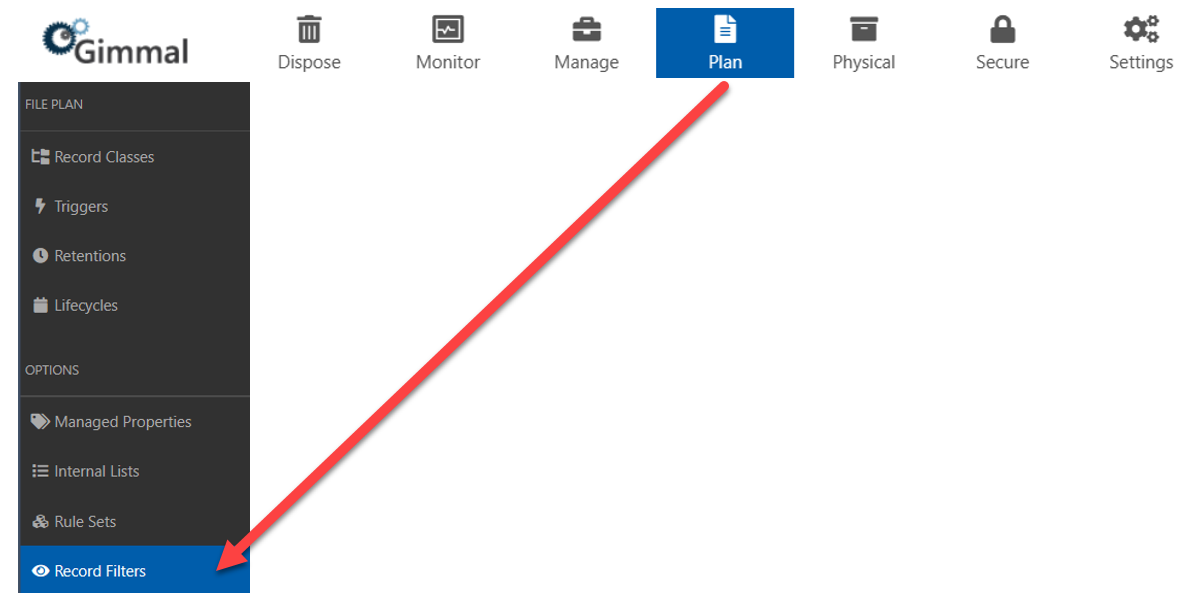
To manage Filters on a record class, click on Plan in the ribbon. Once you are in Plan, select Record Filters in the left hand navigation pane.
Configuring Filters
The first step in using Filters is to configure the settings for the Filter. Click the +Create button and give your new Filter a descriptive name. Your new Filter will show up in the list of Record Filters.
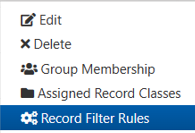
Now that we have a new Filter, we need to configure it. We will need to set up the group membership and the rules for the Filter. Click the pull-down menu next to your Filter name.
-
The group membership controls what Gimmal Records users are part of this filter. Any users in the filter group can view records the filter is applied to.
-
Filter rules are similar to Classification Rules. They allow you to set up a rule set, using the record properties, which identifies what records are under this filters control.
Group Membership
Use the pull-down menu to select individual users or groups in Gimmal Records. Select the user and then click +Add. Only users in your Group Membership will be able to view records the filter is applied to.
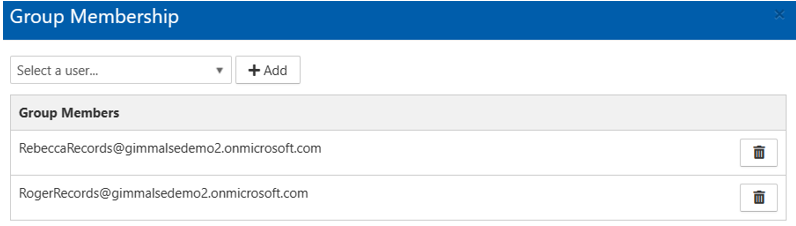
Users can be removed from the Filter Group by clicking the trashcan to the right of their name.
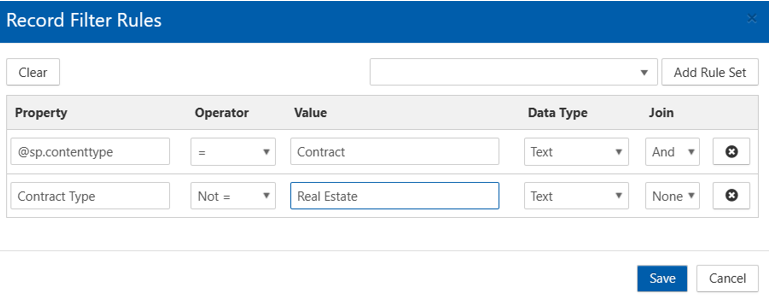
Record Filter Rules
The rules allow you to specify what records are under the control of this filter. In this example, we’ll set up a rule that includes any record in the Legal SharePoint site that is in the Contracts library and the metadata property Contract Type is not Real Estate.
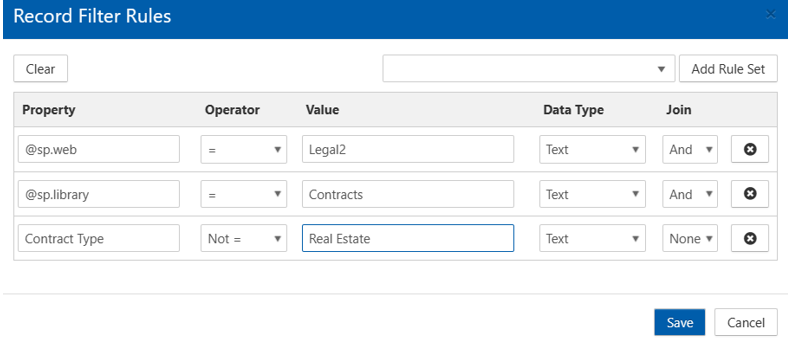
This rule applies the filter to records in a specific location. Now only Rebecca and Roger will be able to view Contracts Records in this location with one exception: if a contract is in this location and it’s a Real Estate contract, any Records Manager can view it.
A filter does not have to be location specific. Here we removed the SharePoint site and library requirement. Now any record with a content type of Contract that is not a Real Estate contract will be controlled by this filter. The records can be anywhere in SharePoint!
Applying the Filter
Filters have to be applied to each record class you want them to apply to. They do not inherit from the parent record category.
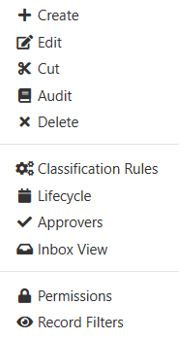
To apply a filter, go to Record Classes in the left hand navigation, then navigate to the specific record class you want to apply your filter on. Click the pull-down menu for the record class and select Record Filters at the bottom of the menu.
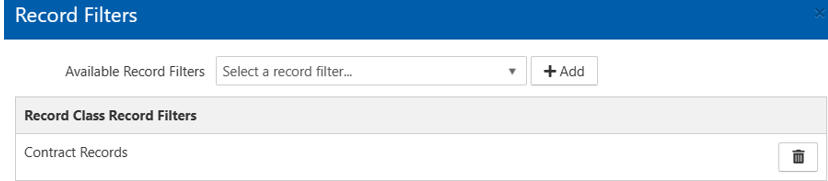
From the pull-down menu, select your filter and click +Add. You can apply multiple filters to a record class if desired. When a filter is applied, you will see the ![]()
Please contact technical support with any questions.
First published April, 2024